
Showing posts with label crafty. Show all posts

Thursday, August 4, 2011

Project Restoration

About 2 weeks ago, Mike & I decided our wedding gifts needed a better storage place than stacked on the floor.  See, our 700 sq ft condo seemed like plenty of space when we first moved.  Then we went and got married and received wonderful grown-up gifts.  Crystal goblets need displaying, the cupcake carrier needed storage itself, and deep-down I worried the cats' exploration might ruin a few pieces.

We set off to find a china cabinet/hutch/anything decent to hold our things.  It needed to be no taller than 7 foot, no wider than 41 inches, and no deeper than 20 inches.  These stringent specifications almost lead us to design a piece for $2600 at a very fancy, yet wonderful quality wood, furniture store.  We found no justification in spending that much money on something we might not use when/if we move, no matter how solid and great the wood.
(yes, many jokes can be inserted here)

So why not take things into our own hands?  (Sidenote: I consider myself mildly crafty.  I can't use a sewing machine but I can scrapbook and paint.  Mike is good at reading directions and following them.  This will come in handy later.)

Enter "Rough and Ready" a jam packed, flea-market style, everything goes second-hand furniture store.  Our neighbors referred us, as they purchased and refinished a piece themselves.  I striped/sanded/refinished a coffee table before.  I was all about tackling another restoration project.  Because a giant china cabinet is just like a small coffee table, right?
(warning: photo heavy post ahead)

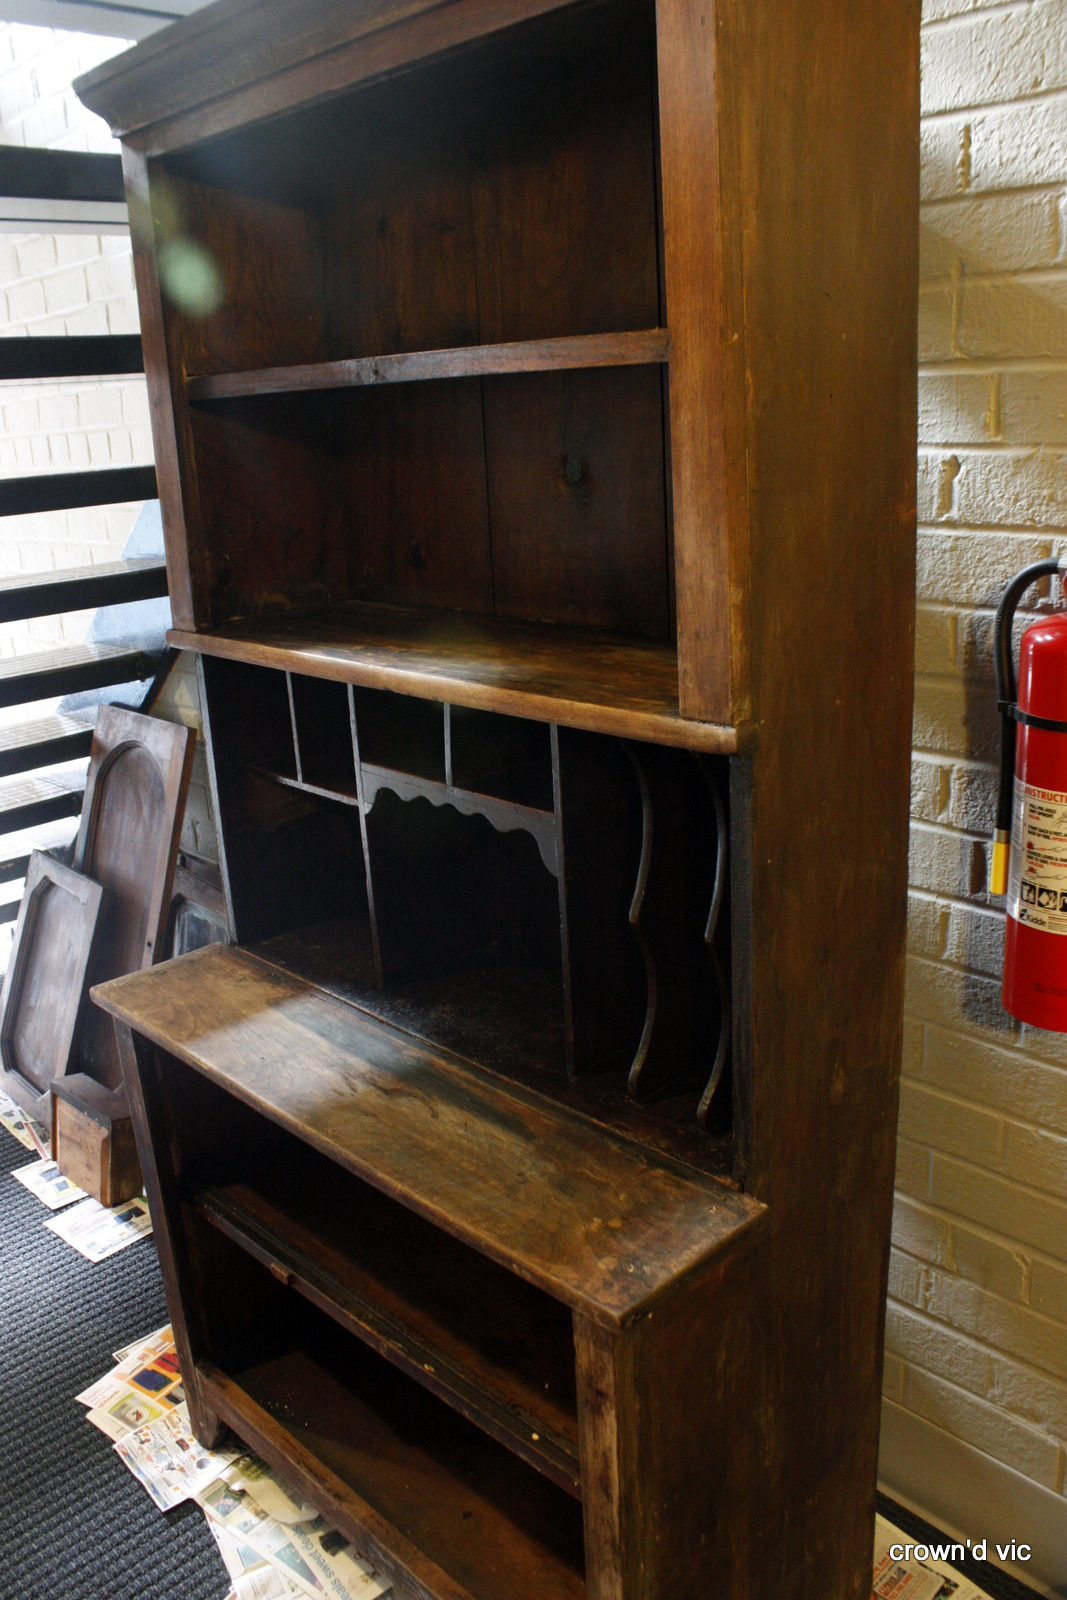
See Betsy:


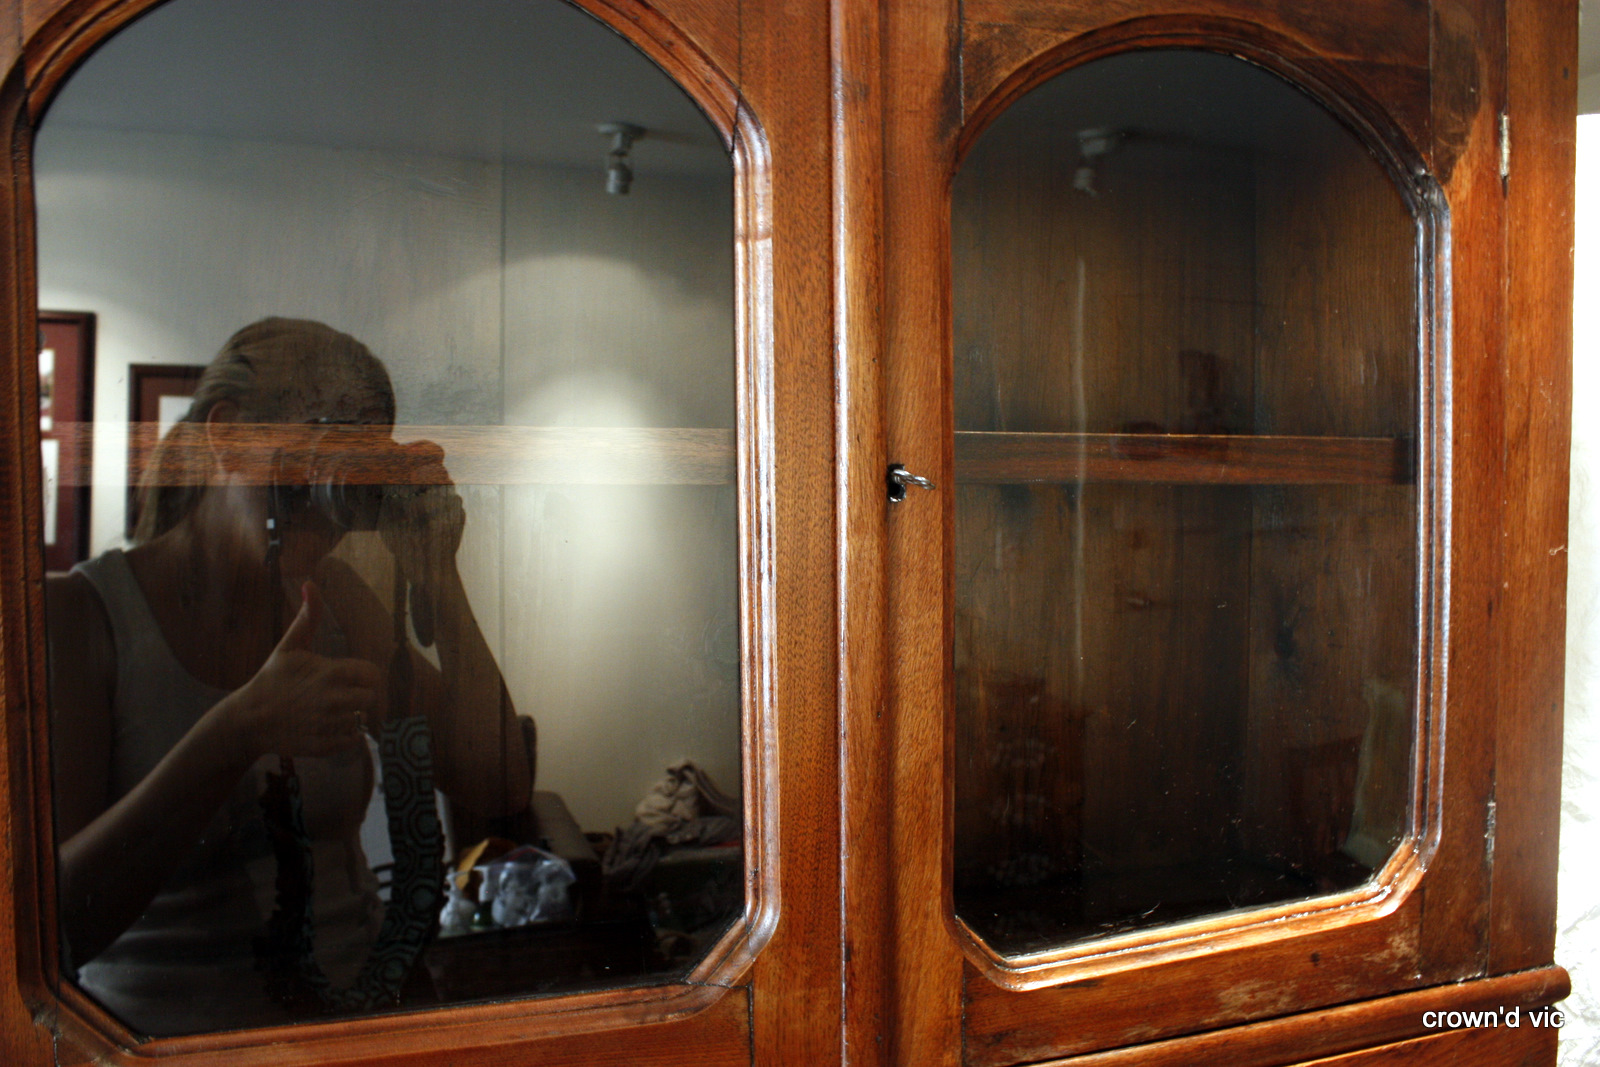
We assumed underneath layers of caked on paint, Betsy had fine walnut wood.  But Betsy had some other problems too:

Below that lovely felt covering:

But no worries, right?  I mean, how long can it take to refinish a giant cabinet?!

Day/Night 1
  • applied decent-at-best orange goop/paint remover (never opt for the environmentally safe stuff when you want to do heavy duty work)
  • scraped off as much paint as possible
  • 3 hours

Day 2:
  • realize that orange goop did not take off all paint
  • try spot application of more orange goop to remaining paint areas
  • let sit and scrub off with fine steel wool
  • send Mike to the hardware store for more steel wool
  • take doors off Betsy because A) 1 fell off while moving & B) it's just easier this way
  • realize that the orange goop leaves residue and read online that you need a special remover for stripper residue
  • send Mike to the hardware store for "stripper stripper" (& plastic gloves)
  • we believe all paint is gone
  • 6 hours   


Day 3:
  • realize there is still paint on certain areas
  • send Mike to hardware store for hardcore paint stripper, the kind that stinks & can eat through your plastic gloves
  • Mike also gets more plastic gloves 
  • Go to town on the remaining paint spots with super paint stripper and steel wool
  • Mike goes back to hardware store for MORE stripper stripper to remove the stripper residue. one. last. time.
  • curse at the tiny nooks on the doors where you find paint residue & attack with more stripper and then follow up with "stripper stripper"
  • buff the entire piece with extra fine steel wool
  • sand the extreme problem areas
  • apply polyurethane to entire piece
  • curse doors' nooks when applying polyurethane
  • 6 hours

Day 4:
  • ohmygodwe'renotdoneyet?!
  • apply Tung Oil to entire piece, let sit, buff
  • move piece into your home (itsaboutdamntime)
  • put doors back on
  • heave a huge sigh of relief


But next time? I'm spending $2600 on that brand new piece that I don't need to touch.

Tuesday, July 5, 2011

Peacock Cake Topper Tutorial

My crafty side is really showing lately.  I love putting personal touches on special moments.  That being said, I tried something, full-well knowing it could fail.
I looked around for months for a cake topper. I wanted something with peacock feathers, obvi. The only thingsI found that I liked were on Etsy and upwards of $200.  Then I found something more reasonably priced, but the first thought that came to mind was, "I can totally make that."

So I set out to do just that.

I started with a square base of Styrofoam.

I traced a circular shape onto the surface and cut it into a circle.  This was somewhat of a challenge.
I then picked out peacock feathers of various heights.  You can easily trim down the feathers' stalks with scissors.
I love that this one has a heart in the center!

I poked/jammed the feathers into the Styrofoam base.  Sometimes I needed to create holes for the feathers' stalks to slide more easily into the base.  I used a pencil to create holes in the foam.  Be careful not to put the feathers out too often, because it loosens the integrity of the Styrofoam.

Once I was happy with where the feathers were situated, I hot glued ribbon together to cover the base.  (This is the same ribbon I used for my niece's flower girl basket)

Once the ribbons were aligned I then hot glued that onto the Styrofoam base.

As you can see I added feathers (which I promise in real life they show up purple, not red) to prevent the white Styrofoam from showing.


And voila! Cake topper at the wedding!


And in these professional pictures you can tell the feathers are purple!


{all images personal, aside from the last one from Studio Juno}

Monday, June 13, 2011

Water Bottle Labels: Tutorial

Thanks to Emily's inspiration, my detail-prone-self, and the help of bridesmaid Kathryn & fiance Mike, we replaced 140 water bottle labels with custom, personalized ones!

You might be wondering, Why spend valuable time changing water bottle labelsWhat's wrong with the labels they came with? or even, Are you crazy?
The answer?  Spiff.
A virtual friend of mine pointed out that no one wants a copy-cat wedding.  Everyone needs their own spiffy details that set your shin-dig apart from others.  And I have to say, when all these water bottles are set up they look pretty darn spiffy.  That's my kind of detail.


(Sidenote: Emily's tutorial is waaaayyy more helpful, instructions-wise.  I was too tired and wanted to get the labeling over with, to stop and take proper pictures to document our endeavors.  PlusAlso I decided sleep was more valuable. I'm sure you understand!)

First: remove the label from one water bottle.  Measure (or eyeball, as I did) the width and length of the old label.  Then cut scrapbook paper, or card-stock, to the same size as the old labels.  Using a paper cutter is very helpful here.


Next print out labels with your picture & words.  Apply to pieces of pre-cut paper.

Lastly hot-glue or use a glue stick to affix the labels to the naked water bottles (previous labels removed).

And there you have it! 140 bottles took approximately 2 hours to complete.  They will go in our welcome bags and be handed out at the end of the reception.
 Voila!
spiffy.

Tuesday, June 7, 2011

Flower Girl Basket Tutorial

Sure, this is a tutorial... of sorts.

Here's the way I decorate my eldest niece's flower girl basket, to match our wedding colors.

I started off with a plain, white basket, from Michael's Craft Store, intended for flower girls.


I purchased ribbon, in our wedding colors:


Using a hot-glue-gun & binder clips (to hold my spot), I attached inch wide purple ribbon  to the top of the basket:
 

 I was careful to tuck the ribbon over itself so as not to bunch:

After, I attached the .5 inch ribbon to the bottom boarder of the basket:

Lastly I added an apple green accent stripe of ribbon:

And ta-da! A personalized flower girl basket!


PS: hot glue gun stringies drive me craaaazy!
Related Posts with Thumbnails